Top Three Homestead Chickens

Our top picks for the best three chickens to have on the homestead

After keeping chickens for a couple of years now, we’ve officially kept 11 different breeds of chickens! Wow. That seems like a lot, but because all chickens can pretty much cohabitate unless there is a really bad bully, it’s easy to just mix and match breeds. This list may change after some of our little chickies grow up and their personalities start to come through, but currently, these are my top three picks for the best chickens to have on a homestead.

The criteria that I’m looking at for a good homestead chicken include ability to forage/free range, egg laying abilities, and personality. A bonus is whether or not they will go broody. This means their willingness to sit on a clutch of eggs, hatch them, and raise the chicks.

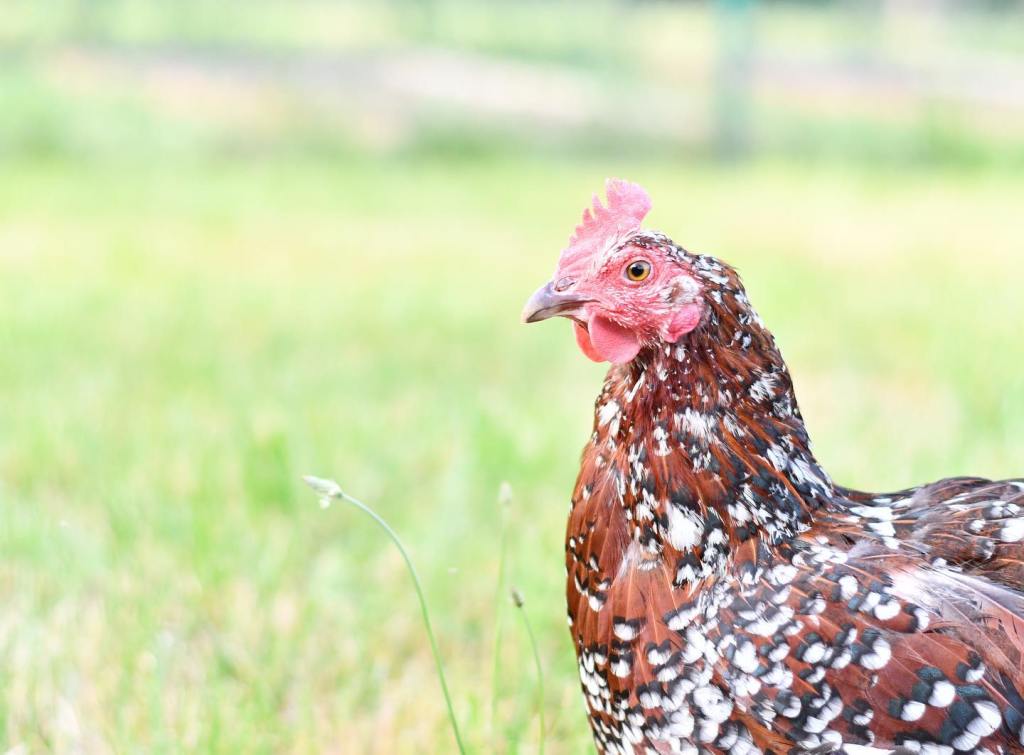
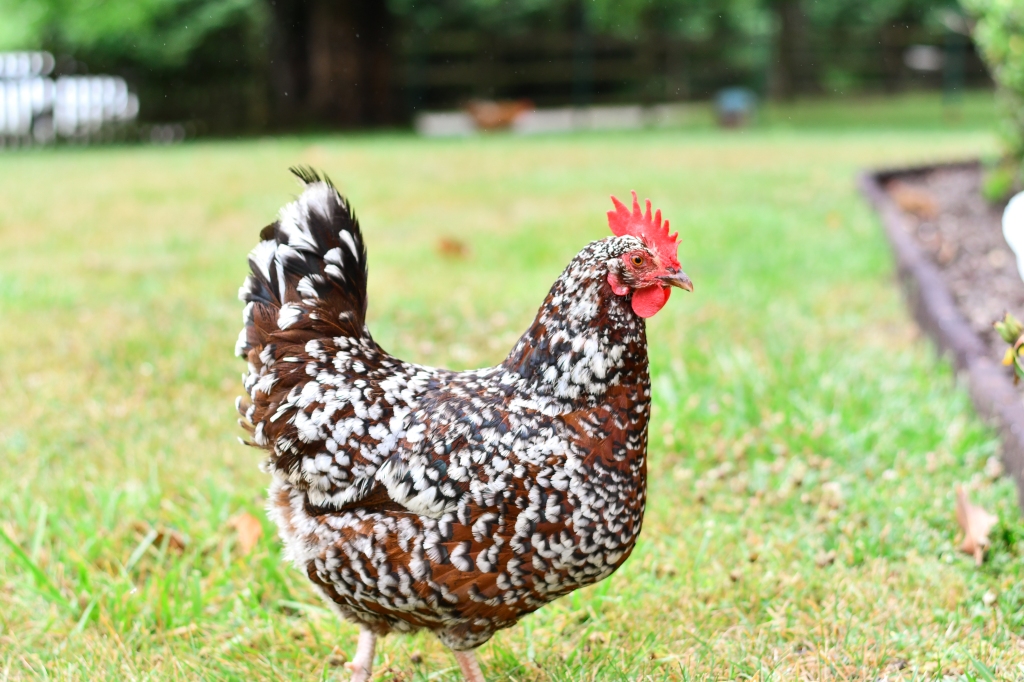
1. Speckled Sussex Chicken

Photo of a Speckled Sussex chicken

The Speckled Sussex was actually the first chicken we brought into our homestead. I was convinced that these would be the absolute best, after binge listening to Coffee with the Chicken Ladies podcast and going through all their breed spotlights! (BTW, highly recommend this podcast if you’re thinking about getting into chickens, these ladies are true experts!).

We started with six of them… Hence Six Sussex Homestead 🙂 We ended up trading our Sussex roo because he became pretty aggressive, but honestly I do miss him because he was BEAUTIFUL. And due to predation, we are down to three ladies. They are the absolute best homestead chickens in our opinion. They choose forage over chicken feed, which could cut down on the feed bill a lot if you are able to free range your chickens. They are extremely personable and chatty, despite me getting them at a year old after they weren’t handled much. They also ALWAYS go broody and raise chicks in the late Spring. They make the best mamas, are extremely protective of their babies, and are amazing at teaching them how to forage.

The only con to the Speckled Sussex is in true heritage breed fashion, they will completely stop laying when the weather starts to cool down, and will not start again until we are well into Spring. So if you do bring these chickens in, I would also recommend keeping a couple of production layers if you want to keep getting a few eggs over the winter.

2. Brahma

Photo of a Buff Brahma chicken

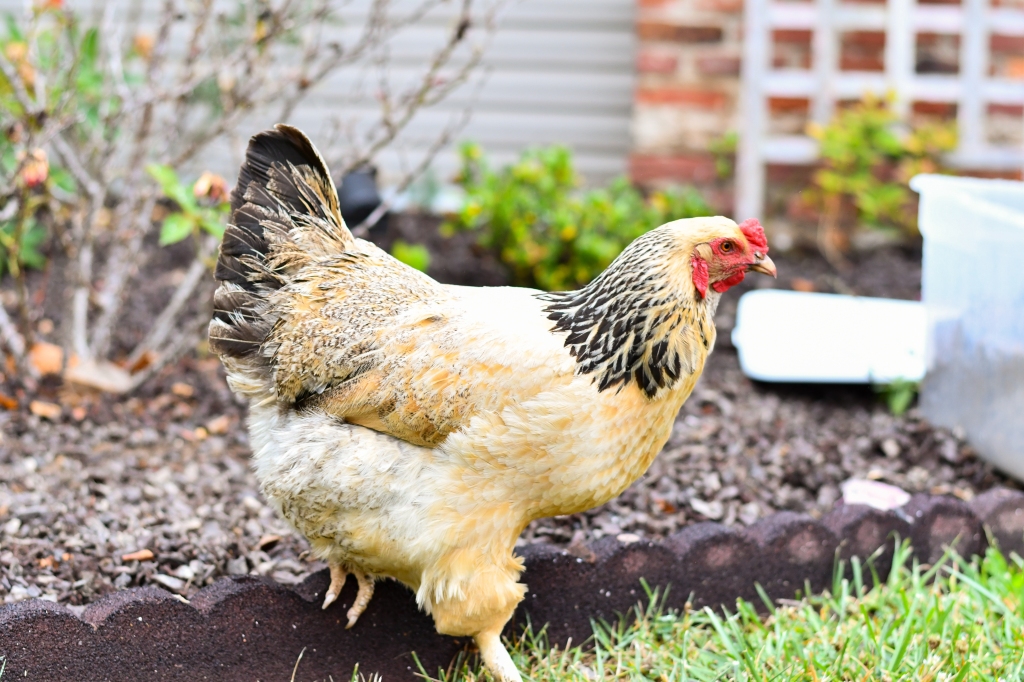
We love the Brahma chicken, even though we only have one! We got a Buff Brahma by accident from Tractor Supply when they had the bins labeled wrong, and I’m so glad we did. The best pro to having a Brahma chicken is their personality. They are big and lovable. Our Brahma, Martha Washington will allow anyone to pick her up and carry her around, and loves to take treats from your hand.

They are great if you plan to have your chickens around kids, even though they are a very large breed of chicken, they are known as gentle giants. These homestead chickens are also great at foraging and free ranging, and it’s also a plus that they are absolutely beautiful chickens. The Buff color is definitely my favorite and Martha is one of my favorite chickens to photograph. Again with Brahma chickens, they aren’t the MOST prolific layers. They will stop laying over the winter, as they are a heritage breed and they will typically lay through the Spring and Summer and slow down over Fall and Winter.
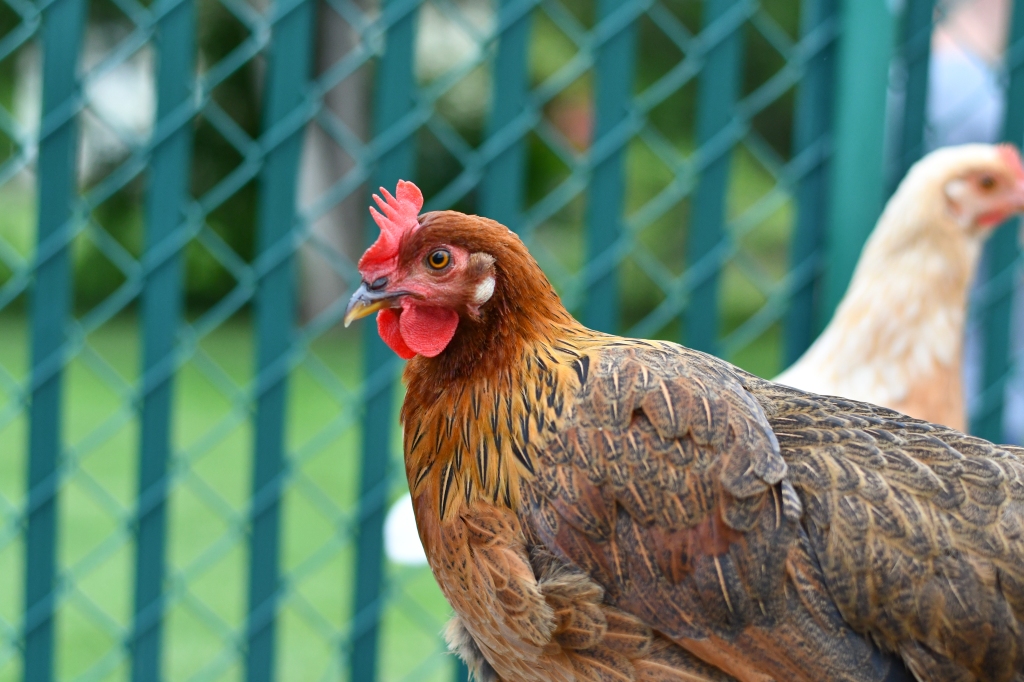
3. Rhode Island Red

Photo of a Rhode Island Red chicken

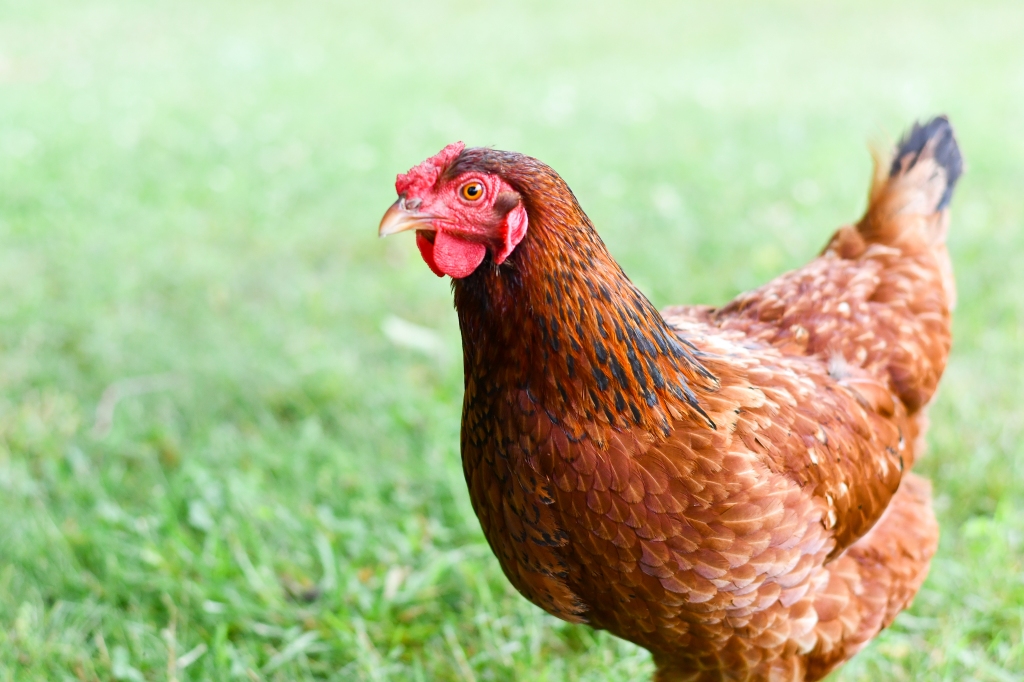
The Rhode Island Red is just a classic, go-to homestead chicken. It is another heritage breed, but in our experience a lot of times they will continue laying over the Winter, making them one of the more prolific layers of the heritage breeds.

They range in color from a deep red to a lighter auburn, and they are great foragers as well. Personality wise, I find them to be a bit more aloof than our other favorite breeds, but they make up for it with egg laying and free ranging abilities. I also have never had a Rhode Island Red go broody. We do have one Rhode Island Red who is our favorite, her name is Ruby and due to her being at the bottom of the pecking order with one of our previous roos, she was pretty badly bullied by the rest of the chickens, was missing tons of feathers and just in rough shape at the end of last year. I ended up separating her from the others and she became my little buddy. Now she is fully feathered again, and has the most beautiful deep red feathers marked with black as well. So there is hope for them to be more personable if they are handled a lot.

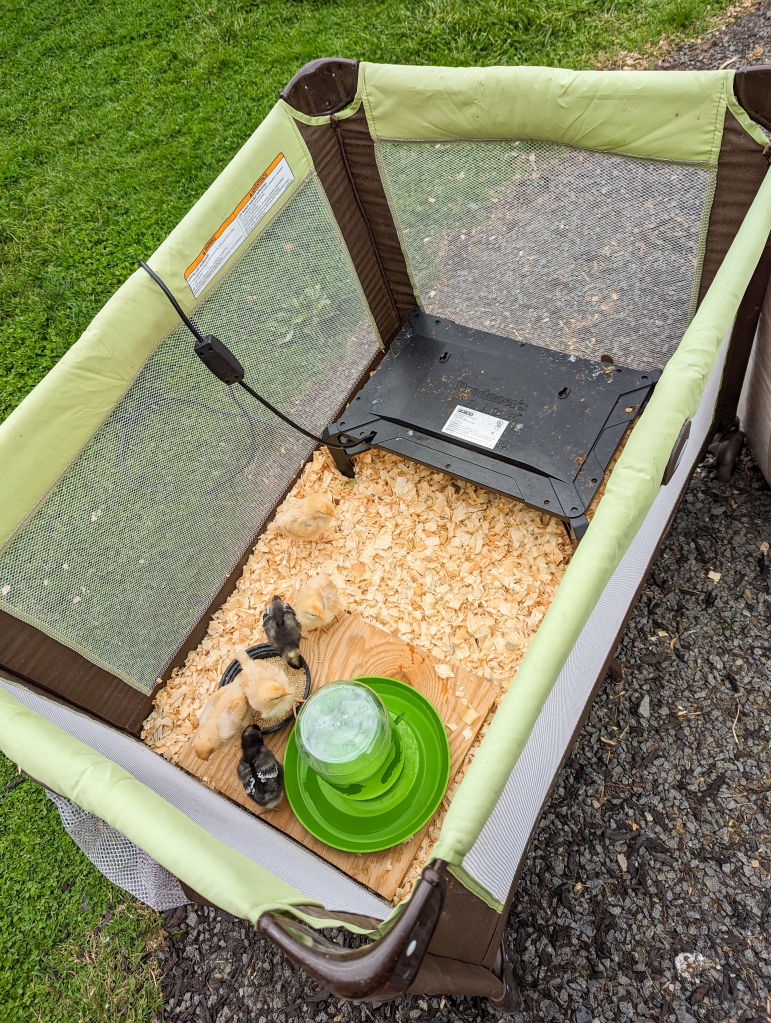
We also currently have juvenile Buff Orpingtons, Plymouth Barred Rock, Leghorns and Golden Laced Wyandottes, so this list may end up changing when some of those chickies get into their egg laying season and their little personalities start to come through. We will certainly keep you updated when that happens! What is your favorite homestead chicken? Let us know in the comments!

Getting Started With Chickens

Since we’ve really gotten into the groove of things with our animals the past couple of years and we’ve done about 6 batches of chicks now including some we’ve hatched, I’ve had a few friends ask me how to set up for chickens! Read below to see how we typically set up for adding new baby chicks 🙂

Why add chickens to your family?

Chickens are typically the first animals someone brings into a homestead, and they’re also great for a backyard. They’re probably the most useful animal so far around our property as well. They finish off any kitchen scraps from meat, to veggies, to pasta. They’re not picky and they eat everything which cuts down on the feed bill, and providing them a varied diet ensures they will lay amazing eggs with super rich egg yolks.

They’re great at turning the compost, aerating garden beds after the growing season, and they’re just fun to watch! There is always flock drama going on which can be entertaining, and if you handle them frequently as you raise them, and handfeed them treats they will grow to love you and follow you around the yard like little dogs.

Photo of a Speckled Sussex chicken.

What do you need to start with chicks?

A Brooder – Aka a container to keep the chicks in! It could be as basic as a 50 gallon tote from Walmart, which happens to be what we are using right now, or as complicated as a hand built wooden brooder box with a screen top. We also love to use a pack and play, and I’ll post a picture of that set up below. The pack and play gives the chicks lots more room to run around, but it does have mesh sides which allows a lot of the chicken dust to escape. That’s something to think about if you are sensitive to animal dander especially if they are in your house. A pro of using the 50 gallon tote is that you can clean it out quickly with the hose. You should also have something to put on the top since as soon as chicks start to grow wing feathers, they will be able to fly out. We use old window screens and they work perfectly.

A Heater – Baby chicks absolutely need to have a heat source. When hens hatch eggs they are usually excellent mamas and will provide the chicks with a warm place to sleep and hang out until they have their feathers in. When we don’t have a mama hen we need to provide them with an alternative source of heat so they don’t get chilled.

There are two options… a heat lamp or a brooder plate. We typically love the brooder plate and this is the one we use from tractor supply. It fits perfectly in our pack n play set up. This brooder plate is pretty big and will not fit in a 50-gallon tote. The heat lamp gets the job done, but you always want to be diligent about securing it because they are known to cause fires. There are other options for smaller brooder plates available on Amazon such as this 12×12 plate. The only downside I will note about the brooder plate is that the chickens will jump on top of it and poop all over it, which can get really gross really fast. I usually will try to keep it covered with aluminum foil so I can just roll it up and throw it out when it gets gross.

Feeder/Waterer – Chicks always need to have a fresh supply of food and water. Honestly you can use any container for food, but usually we opt for the little galvanized food and water attachments they sell at farm supply stores. They fit onto a quart sized mason jar and they’re just small and easy to fit in the brooder and don’t make a ton of mess. I also have been known to just put the food into an old takeout container, but they do tend to get into it and scratch around and make a mess in the food. The actual feeder prevents this from happening as much. A plastic chick waterer also works well, but we’ve found the ones they sell at farm supply stores don’t last more than 6 months without breaking. The one in the photo below actually came from Petco, so we’ll see how long it lasts.

Food – For baby chicks you want to start with a chick starter/grower. It has more protein than a traditional layer feed because the babies grow so fast. We used to use DuMor, but recently switched all our chicken feed to Nutrena NatureWise, because we noticed our hens yolks were so much richer with this feed. The chickens all seem to love it!

Bedding – The chicks will need some soft bedding for their brooder. We always use the big bag of flaked pine bedding from Tractor Supply. You will need to get the FLAKE pine shavings vs the fine, because the chicks can aspirate the small particles in the fine bedding.

Photo of chick brooder.

Tips for starting chicks…

1. Something else you should always have on hand for chicks is electrolytes. I always keep a bag of Hydro-Hen, which is an electrolyte plus a probiotic. This is something that can be given to chicks but is also great for adult birds especially in hot weather. I honestly don’t ALWAYS use this for my chicks, but if they are super young or just seem like they aren’t doing well/having issues with pasty-butt etc, I will be sure to add some to their water. It can be the difference between a chick who lives and one that dies, which is an unfortunately inevitable at some point while raising chicks.

2. Use something to keep the food and water up off the bedding. In the picture of our brooder setup you can see we normally use a small piece of plywood. I’ve also seen people use a rolled wire mesh, as long as the holes are small enough that the chicks little toes won’t get stuck. This prevents them from getting so much of the bedding into their water and food. It especially keeps the water so much cleaner and free from bedding.

3. Keep an eye out for pasty butt. Pasty butt is a condition where the chicks vent (rear end) gets clogged with hardened poo and they are unable to relieve themselves. It really is as gross as it sounds. However… it is deadly! We’ve had chicks die within a day because I didn’t notice it and they essentially get so backed up that they are poisoned by their own waste. It happens a lot in chicks that are shipped commercially due to stress and getting chilled. Check out the Chicken Chick’s guide to treatment of pasty-butt. It really is pretty easy and we’ve dealt with it many times with no issue.

Photo of Rainbow Dixie chicken

How long do chicks need to stay in the brooder?

This really depends on a couple things. The heat outside, how cold it’s getting at night and the amount of feathers the chicks have. Generally chicks will be fully feathered at around 6 weeks of age, but usually if the temps are staying at 65 degrees consistently they should be ok to be outside a little before that. We just play it by ear. When it starts to get warmer during the day I will try to turn off the heat during the day and just keep it on for them at night, so they can gradually get used to the outside temperature.

Moving chicks to the big coop…

If you don’t have any other chickens this is easy, as you will simply move the chicks into the new coop at night and make sure you keep them in a small run for a about a week so they get used to their new home and know where to go to sleep at night. Sometimes they will need help the first few days so it’s best to keep them confined to a smaller area.

If you have an existing flock it can get a little tricky because chickens notoriously have a “pecking order” and the younger chicks will get picked on. Personally, we keep a small run inside of our big run. We will move the younger chicks into this small run for a few days to a week. That way they are exposed to the flock but still protected inside their small run. Then they can integrate with the flock without too much drama. You should move them into the coop at night, and there might still be a little scuffling around, but chickens sleep at night and won’t be as disturbed by the new additions.

Our big coop is currently not in the best condition so we’ll be expanding/updating it this summer. Let me know in the comments if you have any other tips or tricks for starting out with chicks, and check back later for my post on our favorite free-ranging chicken breeds!